Growing garlic has always been one of those gardening activities that feels incredibly rewarding. The ability to plant a small clove and watch it transform into a robust bulb is nothing short of magic. Plus, fresh garlic straight from the garden tastes completely different from what you find in a store. It’s more flavorful, aromatic, and so much more satisfying to harvest.
I’ve been growing garlic for a few seasons now, and I’ve learned a lot along the way. From choosing the right variety to harvesting at the perfect time, I’ve found that with a little planning and patience, anyone can grow their own garlic at home.
So, whether growing garlic is a new adventure or a seasonal tradition, here’s a step-by-step guide on how to plant and grow garlic in the most efficient and rewarding way possible.
1. Choosing the Right Garlic Variety
Not all garlic is created equal, and there are two main types to choose from: hardneck garlic and softneck garlic. The key difference? Hardneck garlic tends to have a stronger flavor and is ideal for colder climates, while softneck garlic is a bit milder and thrives in warmer weather.
Personally, I’ve always gone for hardneck varieties because they have a richer, spicier flavor. They also produce beautiful flower stalks (called scapes), which can be harvested and used in cooking. Softneck garlic, on the other hand, is perfect for people who want to grow garlic in milder climates or those who are looking for garlic that stores well over the winter.
Once the variety is chosen, the next step is sourcing quality seed garlic. It’s important to buy garlic specifically meant for planting, as grocery store garlic may not grow well or could even carry diseases. Online gardening shops, local farmers' markets, or specialized seed companies are great places to find top-quality garlic bulbs.

2. Preparing the Soil and Choosing a Planting Site
Garlic thrives in loose, well-drained soil that’s rich in organic matter. In my experience, garlic doesn’t like to sit in wet soil, so good drainage is key. It’s always a good idea to prepare the soil well before planting by loosening it and adding compost or organic matter to improve the texture and nutrient content.
For those with limited space or poor soil quality, breathable planter bags have been a game-changer. These high-quality bags are made from durable, breathable fabric that allows for excellent aeration and drainage. This ensures healthy root development. I use them as an external wrap for my plant pots to create an optimal environment for my garlic, helping to keep the soil loose and promoting root health. These bags are perfect for growing garlic in pots or containers, whether placed on a balcony, patio, or in a greenhouse setting.
These bags not only promote healthy growth but also allow for better control of soil quality and moisture, especially important in Australia's varying climate. They can prevent waterlogging, making them ideal for both indoor and outdoor garlic gardening.
3. Planting the Garlic Cloves
Now, it’s time for the fun part: planting. I like to break apart the garlic bulbs into individual cloves just before planting, leaving the skins intact to protect the clove as it grows. Each clove should be planted with the pointed end facing up, about 2 inches deep into the soil, and spaced about 4-6 inches apart. For hardneck varieties, I generally plant them in rows with enough space to allow the garlic to grow without crowding.
When planting in breathable planter bags, the process becomes even easier. The bags allow for more compact gardening, so the garlic can be spaced closer together without sacrificing growth quality. Simply plant the cloves in the bag and cover them with a little soil. The breathable fabric keeps everything aerated, helping with watering and drainage management. If using multiple bags, staggering the planting allows for a more varied harvest time.

4. Caring for Garlic Plants
Garlic is a relatively low-maintenance plant, but a little attention can make a big difference. After planting, I cover the garlic bed with mulch—straw, leaves, or grass clippings work best. The mulch keeps the soil temperature stable, retains moisture, and suppresses weeds. It’s important to keep the garlic bed free of weeds so that the garlic can grow without competition.
Throughout the winter, garlic will stay dormant, but as the weather warms up in spring, the garlic will start to sprout. During this time, I make sure to keep the soil consistently moist. However, garlic doesn’t like to sit in water, so good drainage is key.
In the spring and early summer, I apply a light fertilizer or compost to the garlic to help it grow strong. I also make sure the soil stays free of weeds, as these can easily choke out young garlic plants.
5. Dealing with Garlic Scapes
As the garlic grows, the plants will send up a flower stalk known as a garlic scape. These long, curly stems are an edible part of the plant and are great for use in recipes like pesto, stir-fries, or simply roasted. To encourage the garlic bulb to grow larger, I usually cut off the scapes once they begin to curl. This redirects the plant’s energy into growing a bigger bulb rather than producing flowers and seeds.
While removing the scapes is optional, I recommend it for anyone looking to maximize the size and quality of their garlic bulbs.

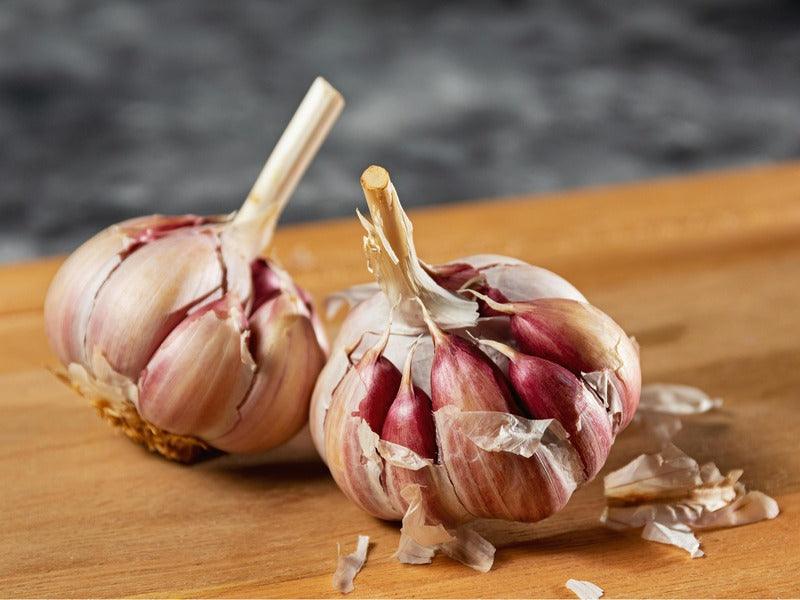
6. Harvesting Garlic
Garlic takes several months to mature, usually around 8 to 9 months, depending on the variety. The best time to harvest garlic is when the leaves begin to turn yellow and start to die back. The tops will usually dry out, and some of the lower leaves will have turned brown. At this point, I carefully dig around the base of the garlic bulb with a small shovel or gardening fork to gently lift it out of the soil.
Harvesting garlic is a delicate process. If the bulbs are pulled out too forcefully or if they are damaged, they won’t store as well. I always try to be gentle to avoid bruising the bulbs.
After harvesting, it’s essential to let the garlic cure. This means allowing the bulbs to dry in a cool, dry, and well-ventilated space for about two to three weeks. Once cured, the outer layers will harden, and the garlic will be ready for storage.
7. Storing Garlic
Once garlic is fully cured, it can be stored in a cool, dry place for months. Softneck garlic generally stores longer than hardneck garlic, but with proper care, both types can last for a long time. I always store garlic in mesh bags or containers with good airflow to prevent mold or rot.

8. Tips for Success
- Soil Quality: Garlic loves rich, loose, well-drained soil. If the soil is heavy or clay-like, consider adding organic matter or planting in breathable planter bags.
- Sunlight: Garlic needs full sun, so ensure the planting area gets at least 6-8 hours of sunlight daily.
- Pests: Keep an eye out for pests like aphids or onion flies. If needed, organic methods like neem oil can help keep them at bay.
Final Thoughts
Growing garlic has been such a rewarding experience for me, and I highly recommend it to anyone who loves fresh, homegrown ingredients. Whether using traditional garden beds or breathable planter bags, the process is simple, and the results are always worth the effort. With a little care and patience, garlic can be a fantastic addition to any garden, and it’s incredibly satisfying to enjoy the fruits (or rather, bulbs) of one’s labor!
